Hi Everyone,
The project I have to share today is the floral floating tea cup. I had seen few of these online and wanted to give it a try as I love making flowers and I love tea.
If you would like to make it you will need the following items:
- 1 sheet of Ruby Cardstock
- 1 Sheet of White Daisy Cardstock
- 1″x 8″ Strip of Canary Cardstock or Clear Sparkles and markers
- 2 1/2″ x 7″ of Pixie Cardstock
- Shimmer Brush
- Tea cup and saucer
- 1 x Fork
- Hot glue
- Liquid Glass
- Piercing and Embossing tool kit
- Pair of pliers.
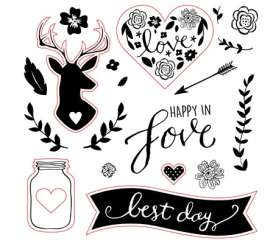
- The flowers are from the CTMH Cricut Flower Market Digital Collection and the butterfly is from CTMH Cricut Artistry Digital Collection
If you do not have these collections you can use any flower or butterfly that you like. If you have these you can open the project here.
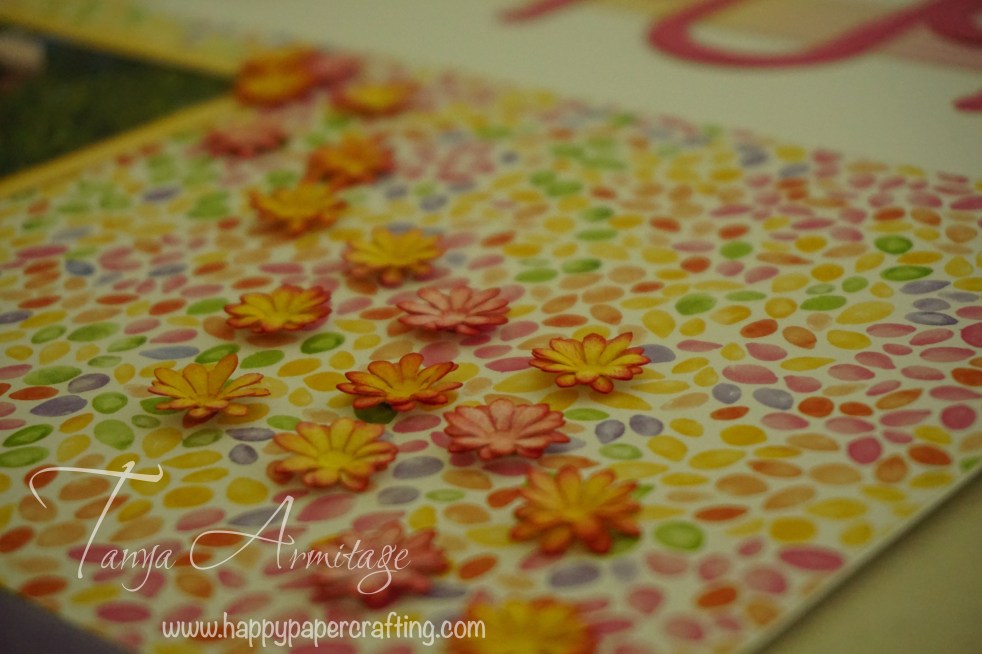
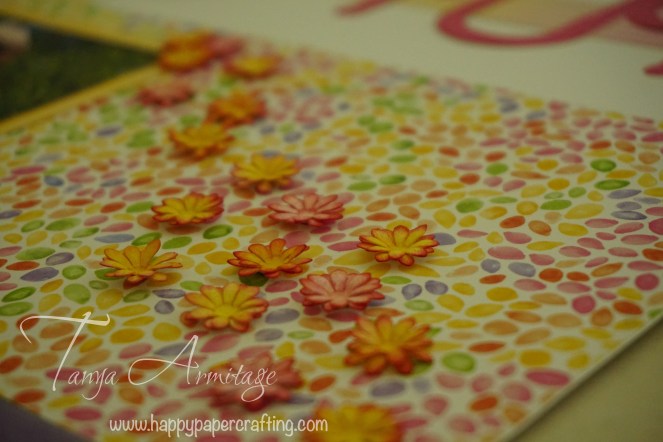
Once you have everything cut all flowers (10 of each colour) and the butterflies. I found it easy to put the pieces of flowers in piles by size. There are 7 pieces per flower with two being the same size. You can add more dimension to your flowers if you add ink to them.
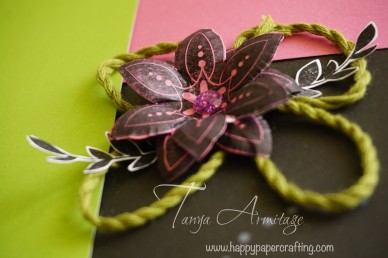
Place the flower upside down on the foam mat and use the embossing tool to emboss the card stock. Start from the outside of each petal and push down as you drag the tool to the centre of the flower. The petal will curve up. Once all petals are done flip it over and create a circle in the centre and push down to get the shape you want. When you have each layer embossed for one flower glue each piece together using liquid glass. I find using liquid glass ensure the layers won’t move when you play with the petals for styling.
Add the yellow dot or a clear gem to the centre of the flower. If you use the clear gem use a shinhan touch marker to add colour to it. Use a shimmer brush to add sparkle to the flower.
Follow the above steps for all flowers until all flowers have been assembled.
Using the pliers bend the fork so the handle sits against the inside of the teacup and the bottom of the fork sits against the saucer. Place some hot glue in the tea cup and place the handle of the fork against it. Then add glue over the top and side of the fork. Hold in place until glue is set. Be careful with this step so that you do not burn your fingers. If holding upside-down the glue can drip onto your finger. The heat from the glue can also travel through the metal of the fork and burn if holding too close. please be careful.
Ensuring that the tea cup is sitting near the middle of the saucer for weight distribution, add glue under where the fork touches the saucer. Push the fork into this glue and then cover with more glue. Hold in place until glue is set and it is stabilised.
To begin adding flowers or other decorations to this piece use hot glue to glue them in place starting at the bottom of the plate and working your way up into the cup. Don’t forget to also add some to the back of the fork or make leaves/grass to hide the fork.
Once all the flowers are in place bend the wings of the butterflies so they have dimension. Add a bit of liquid glass to the bodies and glue in place. Add the large butterfly to the top or handle of the tea cup using either liquid glass or hot glue whichever works for you.
I had a lot of fun making this project and look forward to seeing any you make
Happy paper crafting everyone
Tanya


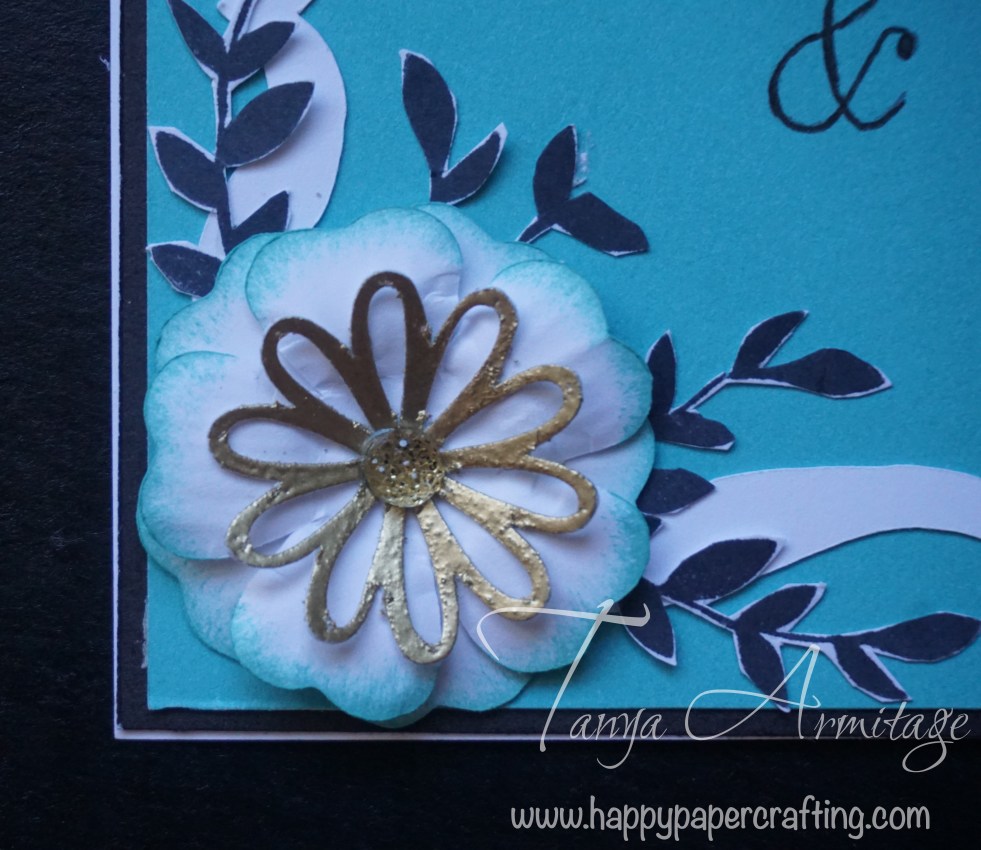

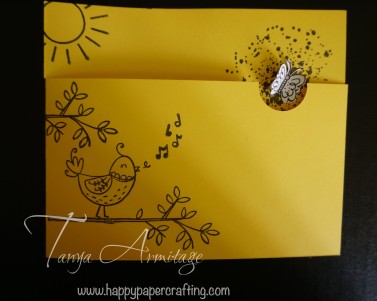
 To turn the hollow flower gold I pushed it into the versa mark stamp pad and then embossed with gold embossing powder. I have used this technique before. You can take a look at it


 Today I would like to share with you a creation which features Close To My Heart’s