Hi and welcome aboard the Silver and Gold Close To My Heart Australasian Blog Hop. If you have arrived from aMAZing Close To My Heart Creations than you are in the right place. If you have stumbled upon this page than please join in and take a look at the amazing ideas that the Australian Consultants have designed.
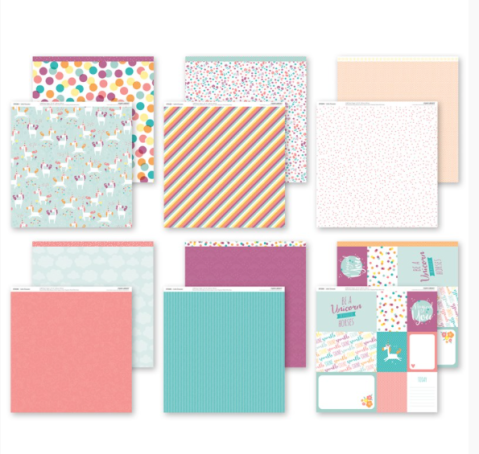
Today we are featuring the Silver and Gold papers. I love these papers for their neutral tones but also for the gold foil designs, Which I have used in my design today. It will not matter what colour you decide to decorate this Christmas these papers will suit all your crafting designs if that be scrapbook, off the page or cards. 
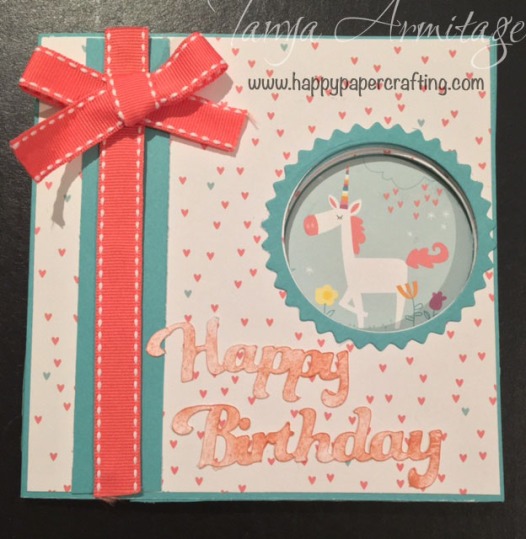
The design I have done today Have kept simple but I have used different techniques to make it a fun card to make.

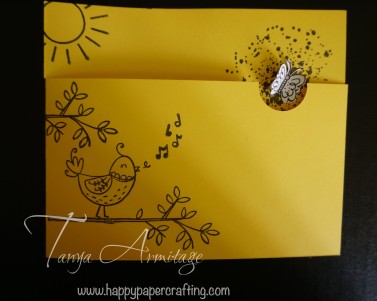
Firstly I have used a card blank and ruled in pencil a line at 1 3/8″ from the edge of the card. This was so that when I placed the Be Merry Thincuts on the card blank I could ensure that the cut out would be even. I then used the partial die cutting technique. I placed the card black on the Big shot ensuring that the line and base of Be Merry Thincuts were off the platform. I then ran it through the machine to cut the design in it.
I then scored the card at 1 1/4″ from the edge. This gave me a straight line to then cut the excess of the card blank away. (If you have a Cricut you can do this step easily and let the machine cut for you. Ask your consultant for a demonstration and how to purchase one).
Once the excess is cut away I then chose a piece of the patterned paper that I liked and cut a full Be Merry out. I then adhered a piece of the gold foil design paper to the front of the card. I then heat embossed vellum paper. I stamped the present border stamp in versa mark onto the Vellum. I then coated with clear heat embossing powder and heated. As you can see this softens the good foil up when layered over. I then decorated the card with silver foil tape (you could use Gold) and added a bow to make it look like a present. I also then glued the Be Merry from patterned paper on top of the word on the card.

I then heat embossed a sentiment from the Gingerbread friends stamp set onto black card stock. I chose black as I felt it would make the Be Merry pop more. If you didn’t guess from this project. I love Heat Embossing. I am sure you will too.
Thank you for taking a look at my design. Please leave a comment before continuing along to Shaunna’s design at Passionate About Pages.
If you love this pack as much as we do please contact your Close to my Heart consultant. If you do not have a Consultant you can contact me here to order yours today.
Enjoy the ideas on this blog hop and Happy Paper Crafting


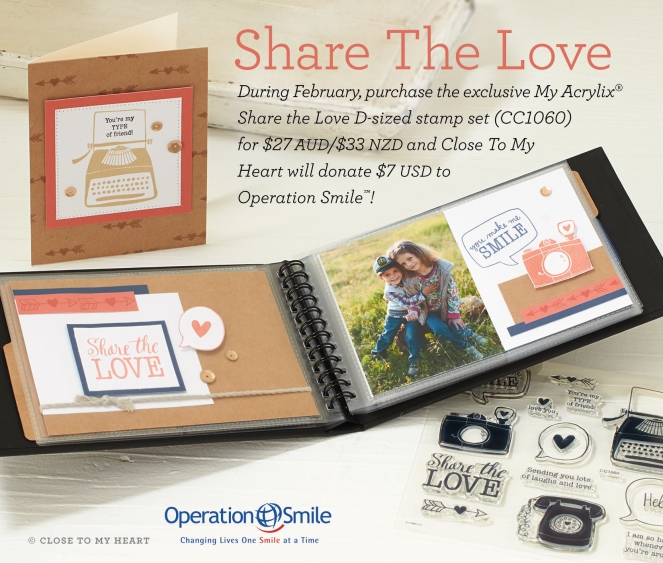
 Today I would like to share with you a creation which features Close To My Heart’s