Hi everyone, I hope you have all been creating great projects. This one I am sharing with you today is one I worked on for a while. It has many elements which will take you a while to complete. These are ones you can either keep in your albums or display in shadow boxes.

The page layout was very easy and quick to put together. The idea is page 59 of the Cherish how to guide. It provides the cutting instructions and layout instructions. If you haven’t seen one of these books before they are worth buying. They give you so many ideas you can modify to create fantastic flowing layouts.
The title fun was cut with the artfully sent cartridge.
The Flowers and flower borders are from the Art Philosophy cartridge. The larger flowers have all been coloured with the watercolour pencils and cut from watercolour paper.

The smaller flowers are from white daisy card stock and then coloured using a sponge and ink. To colour these I sponged the lighter ink from the centre swiping out and with the darker ink I start from the edge and quickly swipe to the centre; Just to add colour to the tip of the flower.
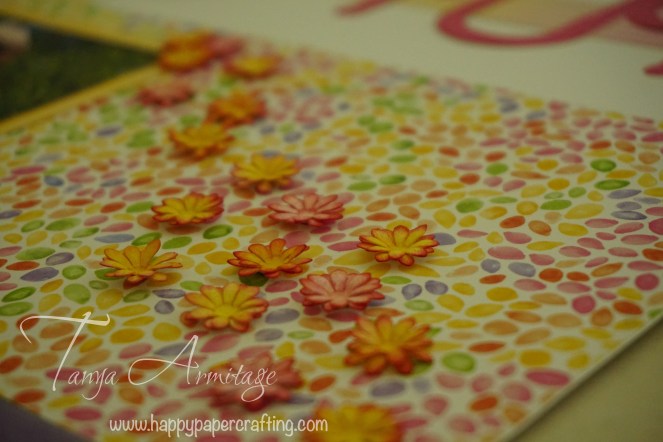


Once the flowers have been coloured I then put them upside down on my embossing matt. Using the embossing tool I then emboss each petal. Turning the flower upright I use the tool in the centre of the flower to curl the flower up. (Stay posted I will post at a later date a video showing how to do this).
Using Liquid Glass place a small amount on the bottom of one flower and place so it sits off centre with the flower below. Using the embossing tool push the flower together. Once in place you can then manipulate the petals to sit how you wish.

I scattered the sponged flowers on the page and glued them down using liquid glass. I then placed the large watercolour flowers on the page and glued them down.
There isn’t much to this projects but to create so many little flowers and to colour the flowers does take a bit of time. It is an enjoyable project and I hope you give it a go.
Happy Papercrafting everyone
Tanya
Products used:
