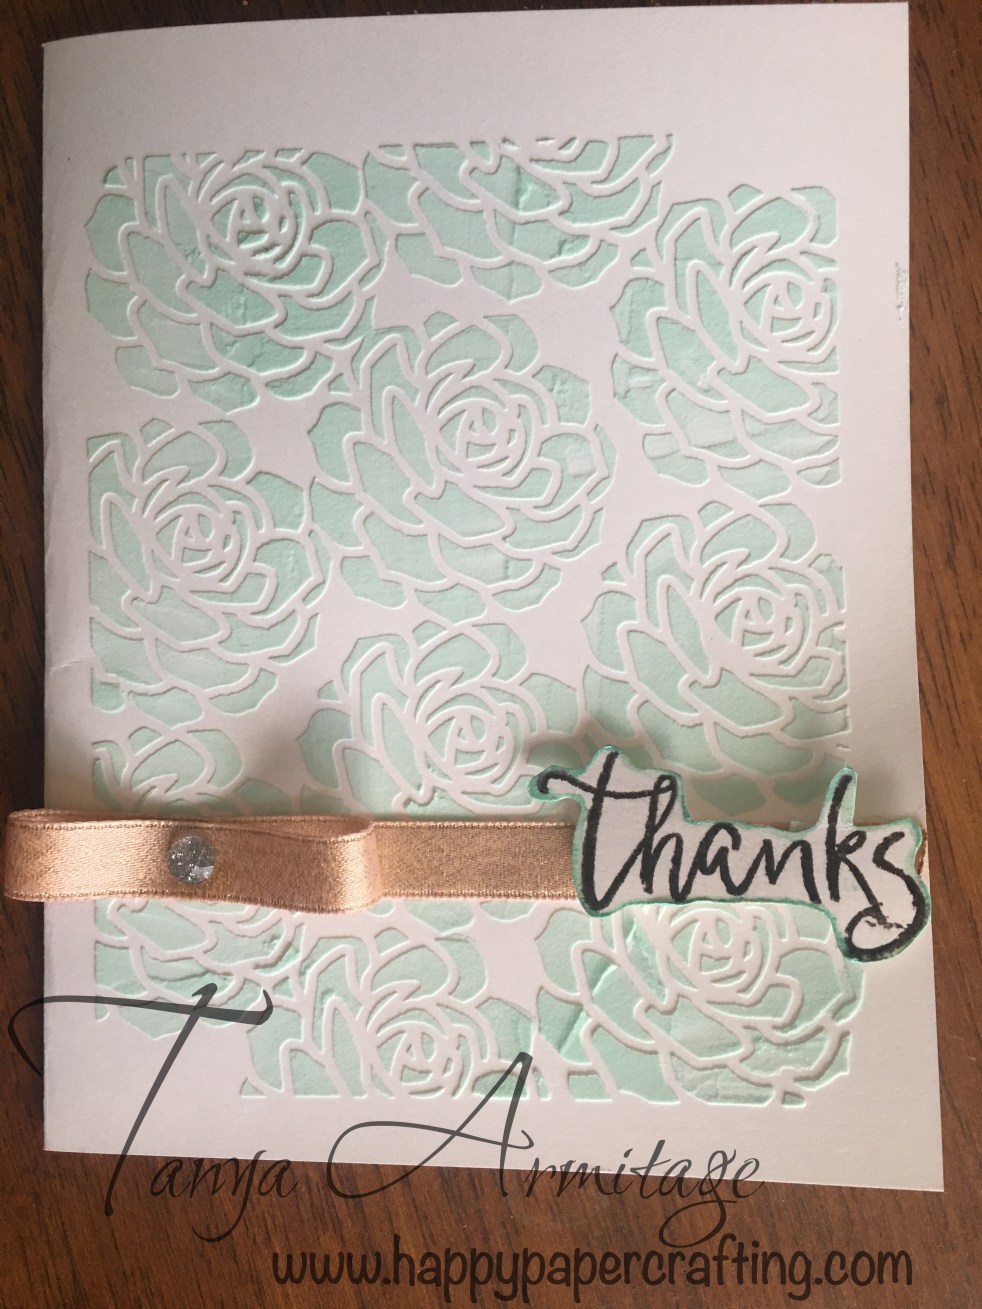
Hello everyone today I have a card I created with texture past and reinker. It is very easy to make.
If you want to make this you will need:
- CTMH Flower Market Digital Cartridge
- Mint Reinker
- Boutique Deluxe Bundle or Opaque Texture Paste , Palette Knives and Stencil Sheet
- Mint Shimmer Brush
- October Stamp of the Month
- Black Ink
- Blush Shimmer Ribbon
- Silver Glitter Gems
- Value pack of white cards
Making The Stencil
I firstly began by designing the stencil in design space. I chose the succulent image from the Flower Market Cartridge. I placed one image on my canvas and removed the silhouette backing. I then selected the contour button and hid the outside line of the image. By doing this it stops the whole flower being cut and only the inside petals.
I duplicated the image so I had enough images to form an image I thought would be great for a stencil. I then selected all the succulent images and selected weld. This makes them all one image. I then inserted an square and modified the shape until it was a rectangle and would cover the succulents in a way I wanted. I then selected both the succulent and square image and selected slice. I then deleted the parts I did not want to keep.
If you want to keep the image on a larger sheet then you can cut it as it is. I wanted to keep a smaller piece so I added a larger rectangle and attached the images. If you do not want to do this yourself feel free to use my file in design space Here.
I the used the cricut to cut out the design.
Making the card
On a mat on my table I used a small amount of the texture paste. I added two drops of the reinker to the paste and mixed it through. The more reinker you add to the paste the darker the colour. I then placed the stencil over the card. I then used the palette knife to spread the paste evenly over the stencil. Once it is all covered I lifted the stencil off and let it dry.


I used the thanks from the October SOTM set to stamp thanks on a scrap piece of white cardstock and edged it with the Mint Shimmer brush. Once the paste was dry I then stuck the ribbon down with Liquid glass and used 3D foam tape to stick the word thanks down. I then added a ribbon bow and placed a glitter gem in the centre.
This is a real cute fun technique to try and I hope you all have a try.
Please feel free to leave a comment of your thoughts on this project before you leave.
Thank you for taking the time to look at my project
Happy Paper Crafting
Tanya


 Hello and welcome aboard the CTMH June 2016 SOTM Australasian blog hop. If you have landed here from
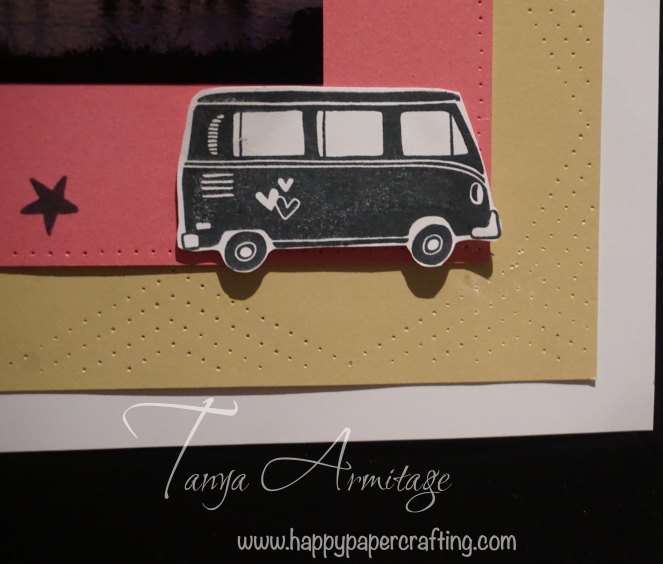


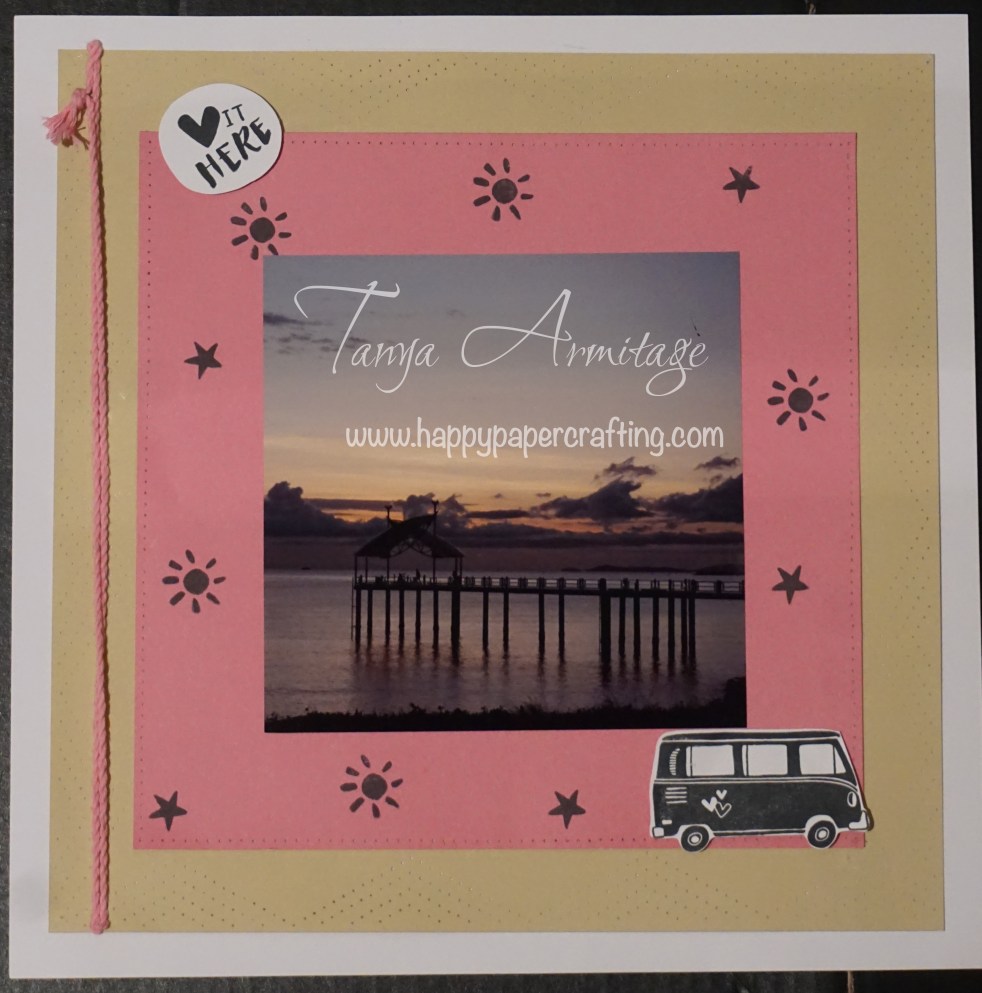
 Today I would like to share with you a creation which features Close To My Heart’s