All occasion card · Cards · paper piercing

Stampaganza Australasian blog hop

blogbadge

Hello and welcome aboard our Australasian Close to My Heart Blog Hop.

If you have arrived here from Jenny’s blog The Creative Heart then you are in the right place. If you are starting the hop from here no problem, please join in by following the link at the end of this post.

Today I would like to share with you a card using 2 stamp sets. During the month of March 2016 CTMH has stampaganza happening. When you purchase two stamp sets you will get a 3rd set Free.

For those who do not know me I will give you a little insight into my 3 fav things to do on projects. If there is a flower I love to emboss them, if there is a butterfly I love to lift the wings for the 3D look and the third is to create my own background/paper. Today I will show you a card that I have made and created my own background/paper.

I got inspired for this card by Pinterest. I saw an image there that used a stitch stamp and wanted to get a similar look.

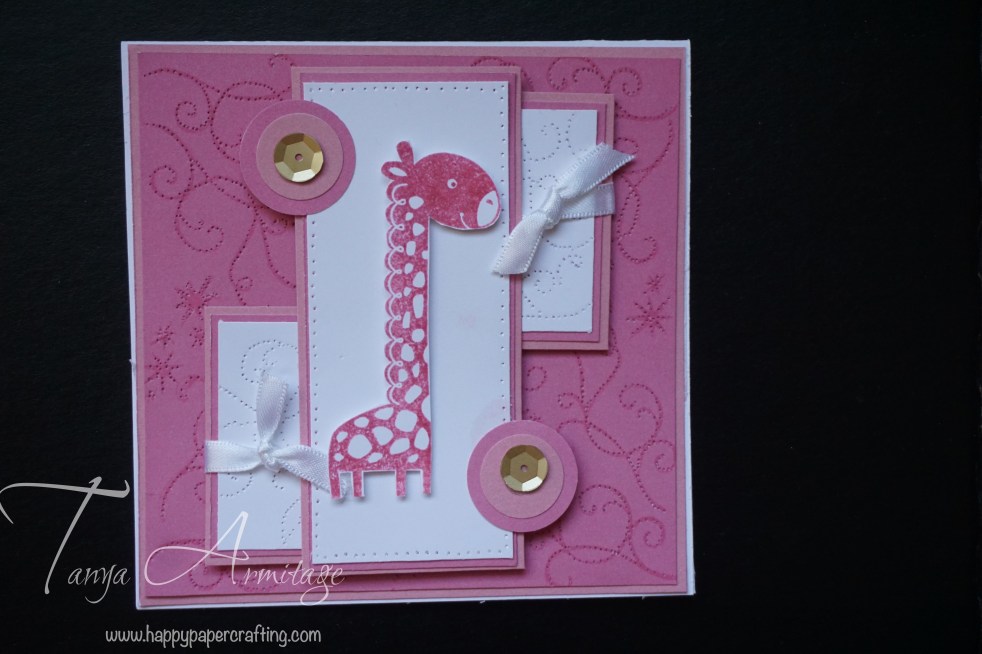
To start with using tone on tone stamping, I have stamped the Princess wings scroll work and stars on the background card stock. On the two smaller white card stock I have stamped using Versamark ink. I did this so that I could still see the lines but would not be clearly visible on the finished product.

I have then paper pierced the stamped designs and the edge of the long white card stock. I did this free hand following the lines of the images. By piercing close together it allows the eye to follow the line and maintain the image. Yes this is a little bit fiddly but I actually found it quite relaxing to pierce the paper. (A bit of paper therapy for you). Here is a closer look at the piercing. Close up of paper piecing for background

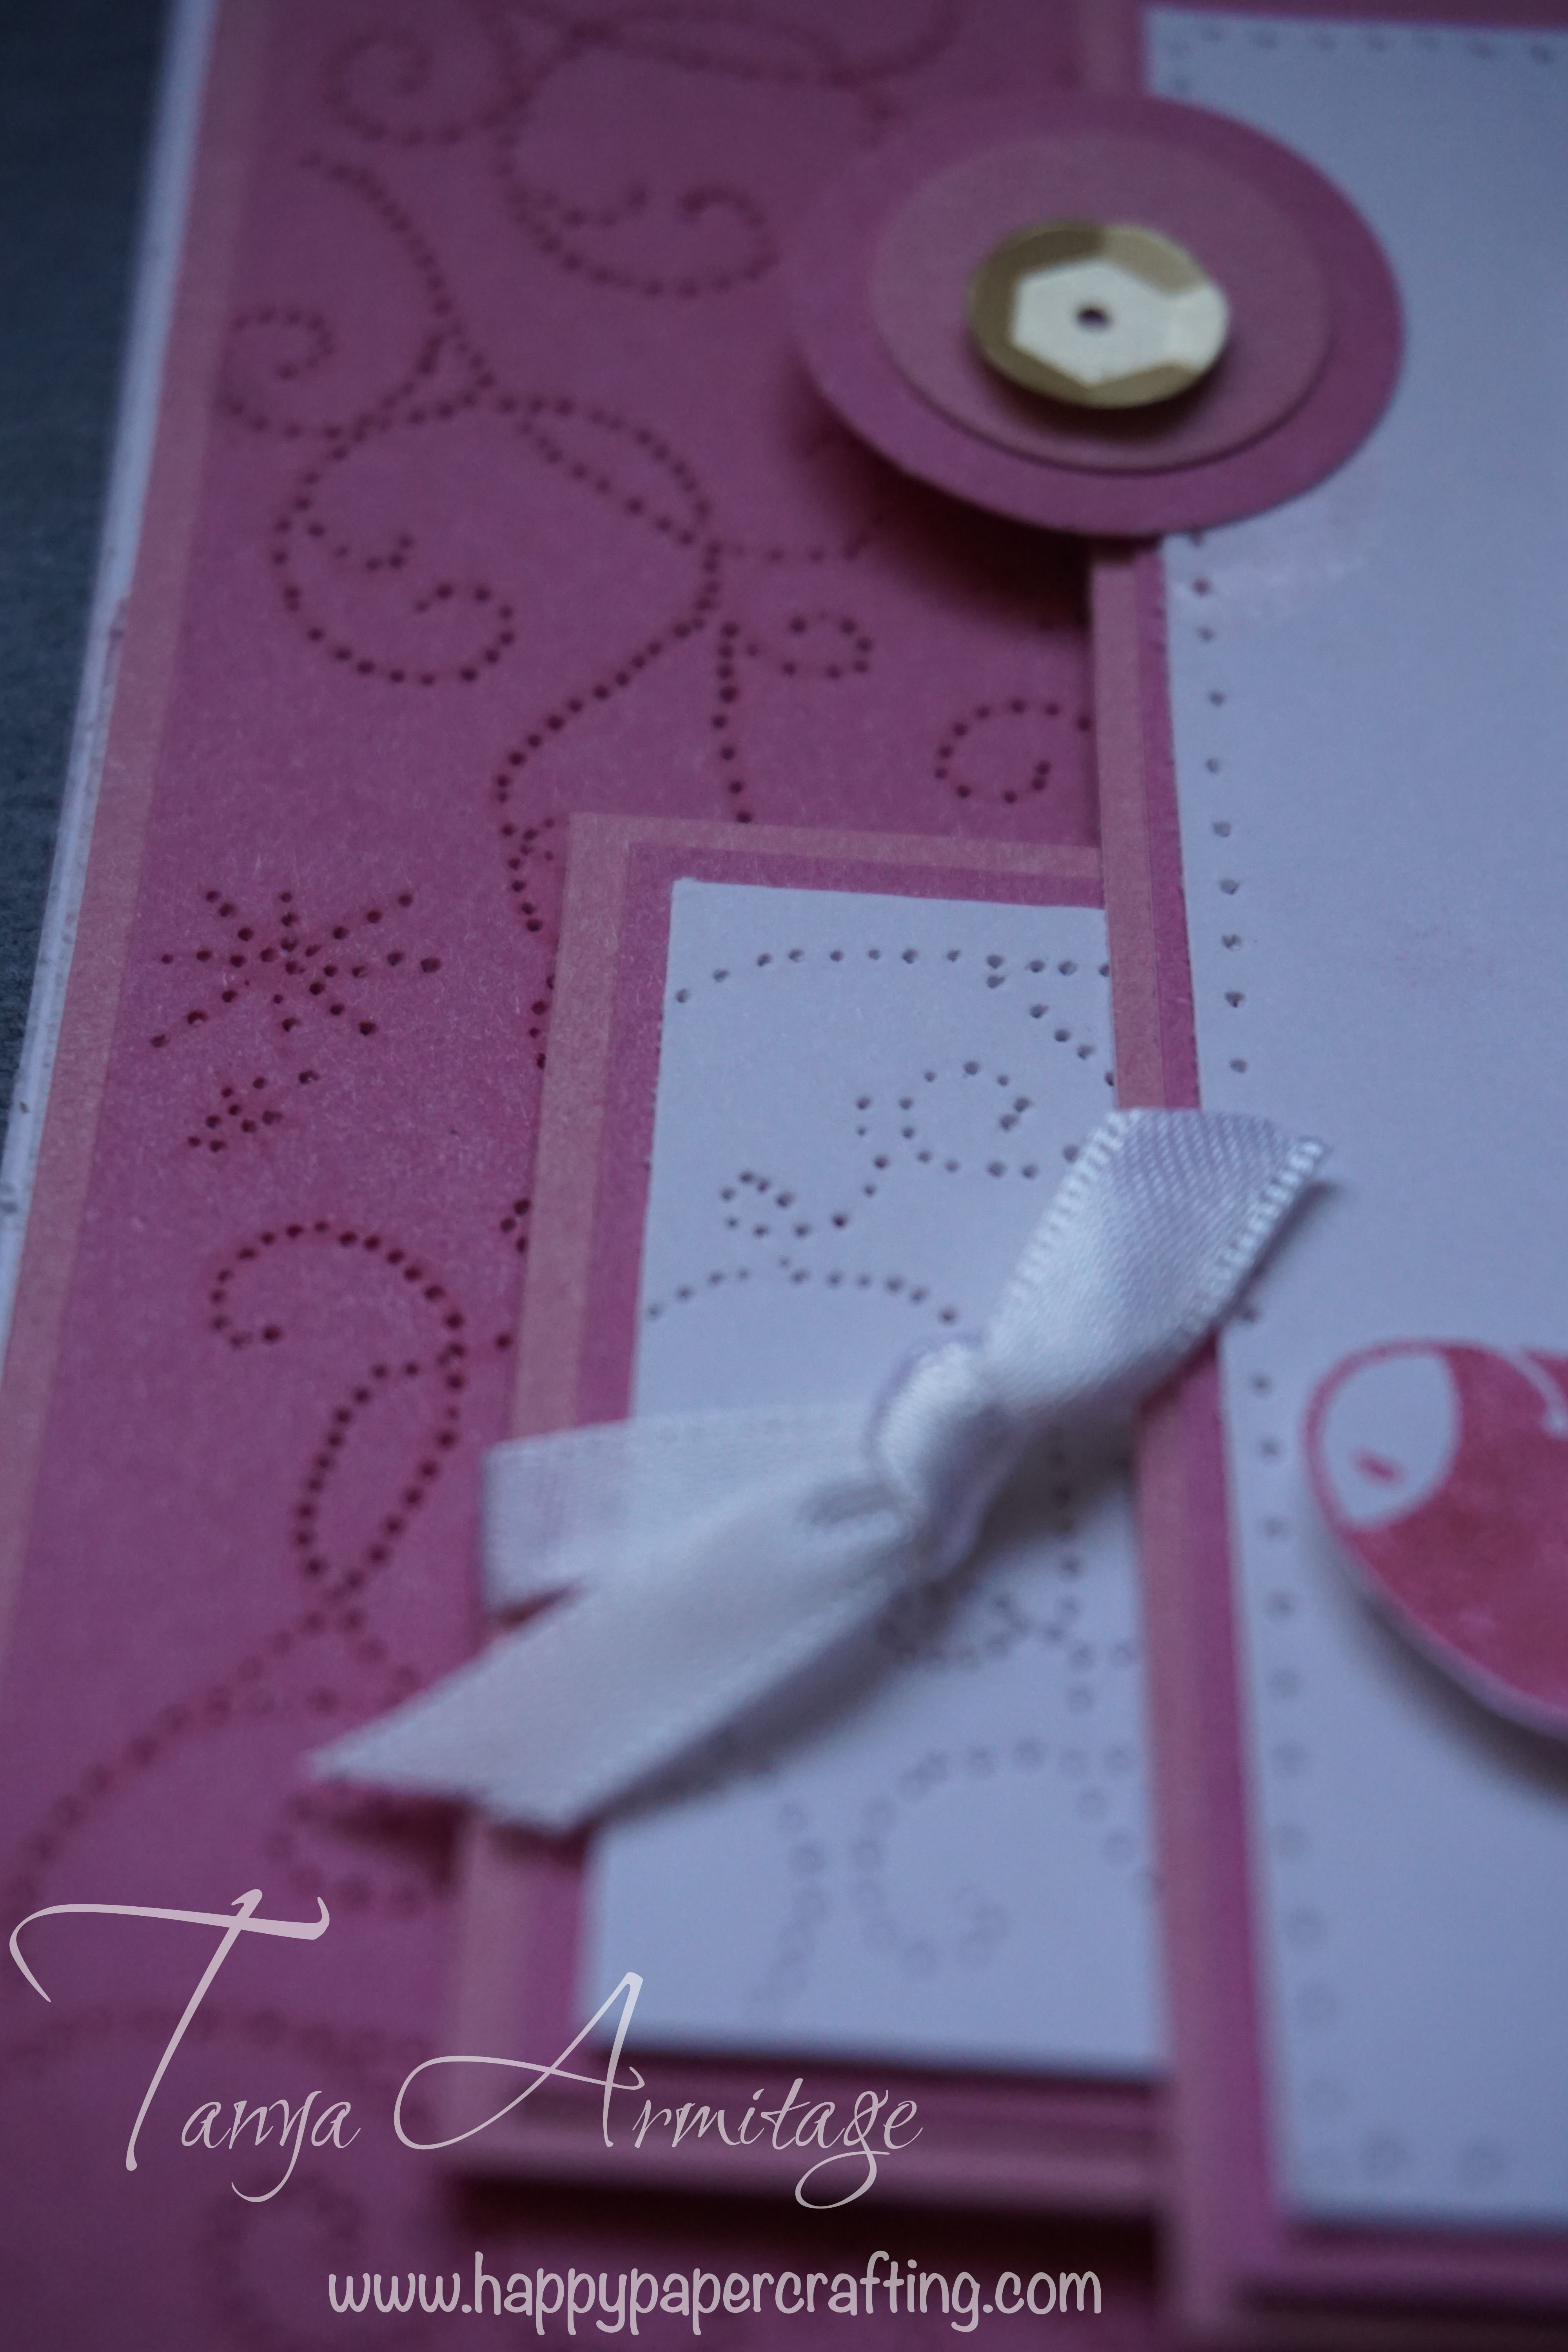
I have stamped the giraffe from Wild Wonders Stamp set with Pigment ink and then clear embossed it. This gives it the glossy sheen and makes it bright as the centre piece of the card. I have decorated it with ribbon and Gold Sequins. I have double mounted the card stock. I Quite liked the look of the different tones of pink in this card. I hope you liked the finished product.

CTMH baby girl card with paper pierced background


If you would like to see another card using the same technique take a look at this post here.

Stampaganza expires on March 31 2016 so be sure to place your order with your consultant quick. If you do not have a consultant please contact me or place your order on my OBA.

Please leave a comment before continuing the hop to Vandra’s virtual CTMH craft room.

If you are interested in either a full video or written instructions please contact me

Thank you and Happy Paper crafting everyone.

Tanya

Tanya armitage

tanya.armitage@me.com

0407581163

Advertisement
All occasion card · Cards

Butterfly Gap Card

This card uses tone on tone and random stamping techniques. The Butterflies are attached to give the card the 3D look. Uses CTMH stamps and card stock and Cricut cartridge. It is very quick and easy. Give it a go!
Butterfly Gap Card

Hi everyone, Thank you for taking a look at my very first Blog post. I was thinking of what to share and decided to share this card. I came across the idea of gap cards in an old magazine and combined it with my love for butterflies.

When I am not scrapbooking or making gifts and cards for special occasions, I am making cards for all occasions. Besides being girly I love butterflies in my projects as they can be used for many different occasions. There have been many times where I have the intention of making a specific card for someone but sometimes time gets away from us and our plans do not eventuate. By having all occasion cards on hand I am able to use one when these instances occur.

This card is quick and easy and you can use it either this exact card or basic design for many occasions.

I began by trimming two strips from the front of a card. First 1 1/4″ x 5 1/2″ and the second at 1/2″ x 5 1/2″.

The second strip will not be needed for this card so you can save it to use on another project.

stamp backgroundCut Two pieces of cotton candy card stock (or any colour you     choose), 1 measuring 3 1/2″ x 5 1/4″ and 1 measuring 1″ x 2″. From the first piece trim a piece off measuring 1″ x 5 1/4″. Trim a piece of colonial white card stock measuring 1 1/2″ x 2 1/2″. Sponge the colonial white piece with cotton candy ink.

Stamp background using the stamp set Your Own Kind of Wonderful, I picked two butterflies and used the ‘Tone on Tone’ technique to create my own pattern (Tone on Tone is using the same ink colour as the card stock). Using the random stamping technique I stamped the butterflies alternating them. To give it a more interesting feel I stamped over the edges. I think it looks great. Remember this technique next time you can’t find the exact paper you are looking for. I then attached the these stamped pieces to the card.

From the Artiste Cricut cartridge, Cut 2 solid butterflies (accent 4 shift ‘spring’ image) and 2 filigree butterflies (accent 4 shift ‘K’ image). To assemble the butterflies you slightly bend the wings, doing this will keep the wings away from the glue and give them a 3D look. Use liquid glass or another adhesive on the underbelly of the butterfly. Attach this to the solid butterfly.

Stamp your sentiment onto the Small piece of cotton candy card stock. I embossed mine with white embossing power. Then attach to small colonial white card stock.

Line the loose piece up with the card so it reforms the original card with the 1/2″ gap. put glue on the four corners of the butterflies and place them as to join the loose piece with the main card. Using 3D foam tape to attach the sentiment to also join the two pieces. You have now completed your card. Adjust the wings of the butterfly so they sit to your desired look.

I hope you had fun assembling this card.