Cards · religious

Baby Christening.

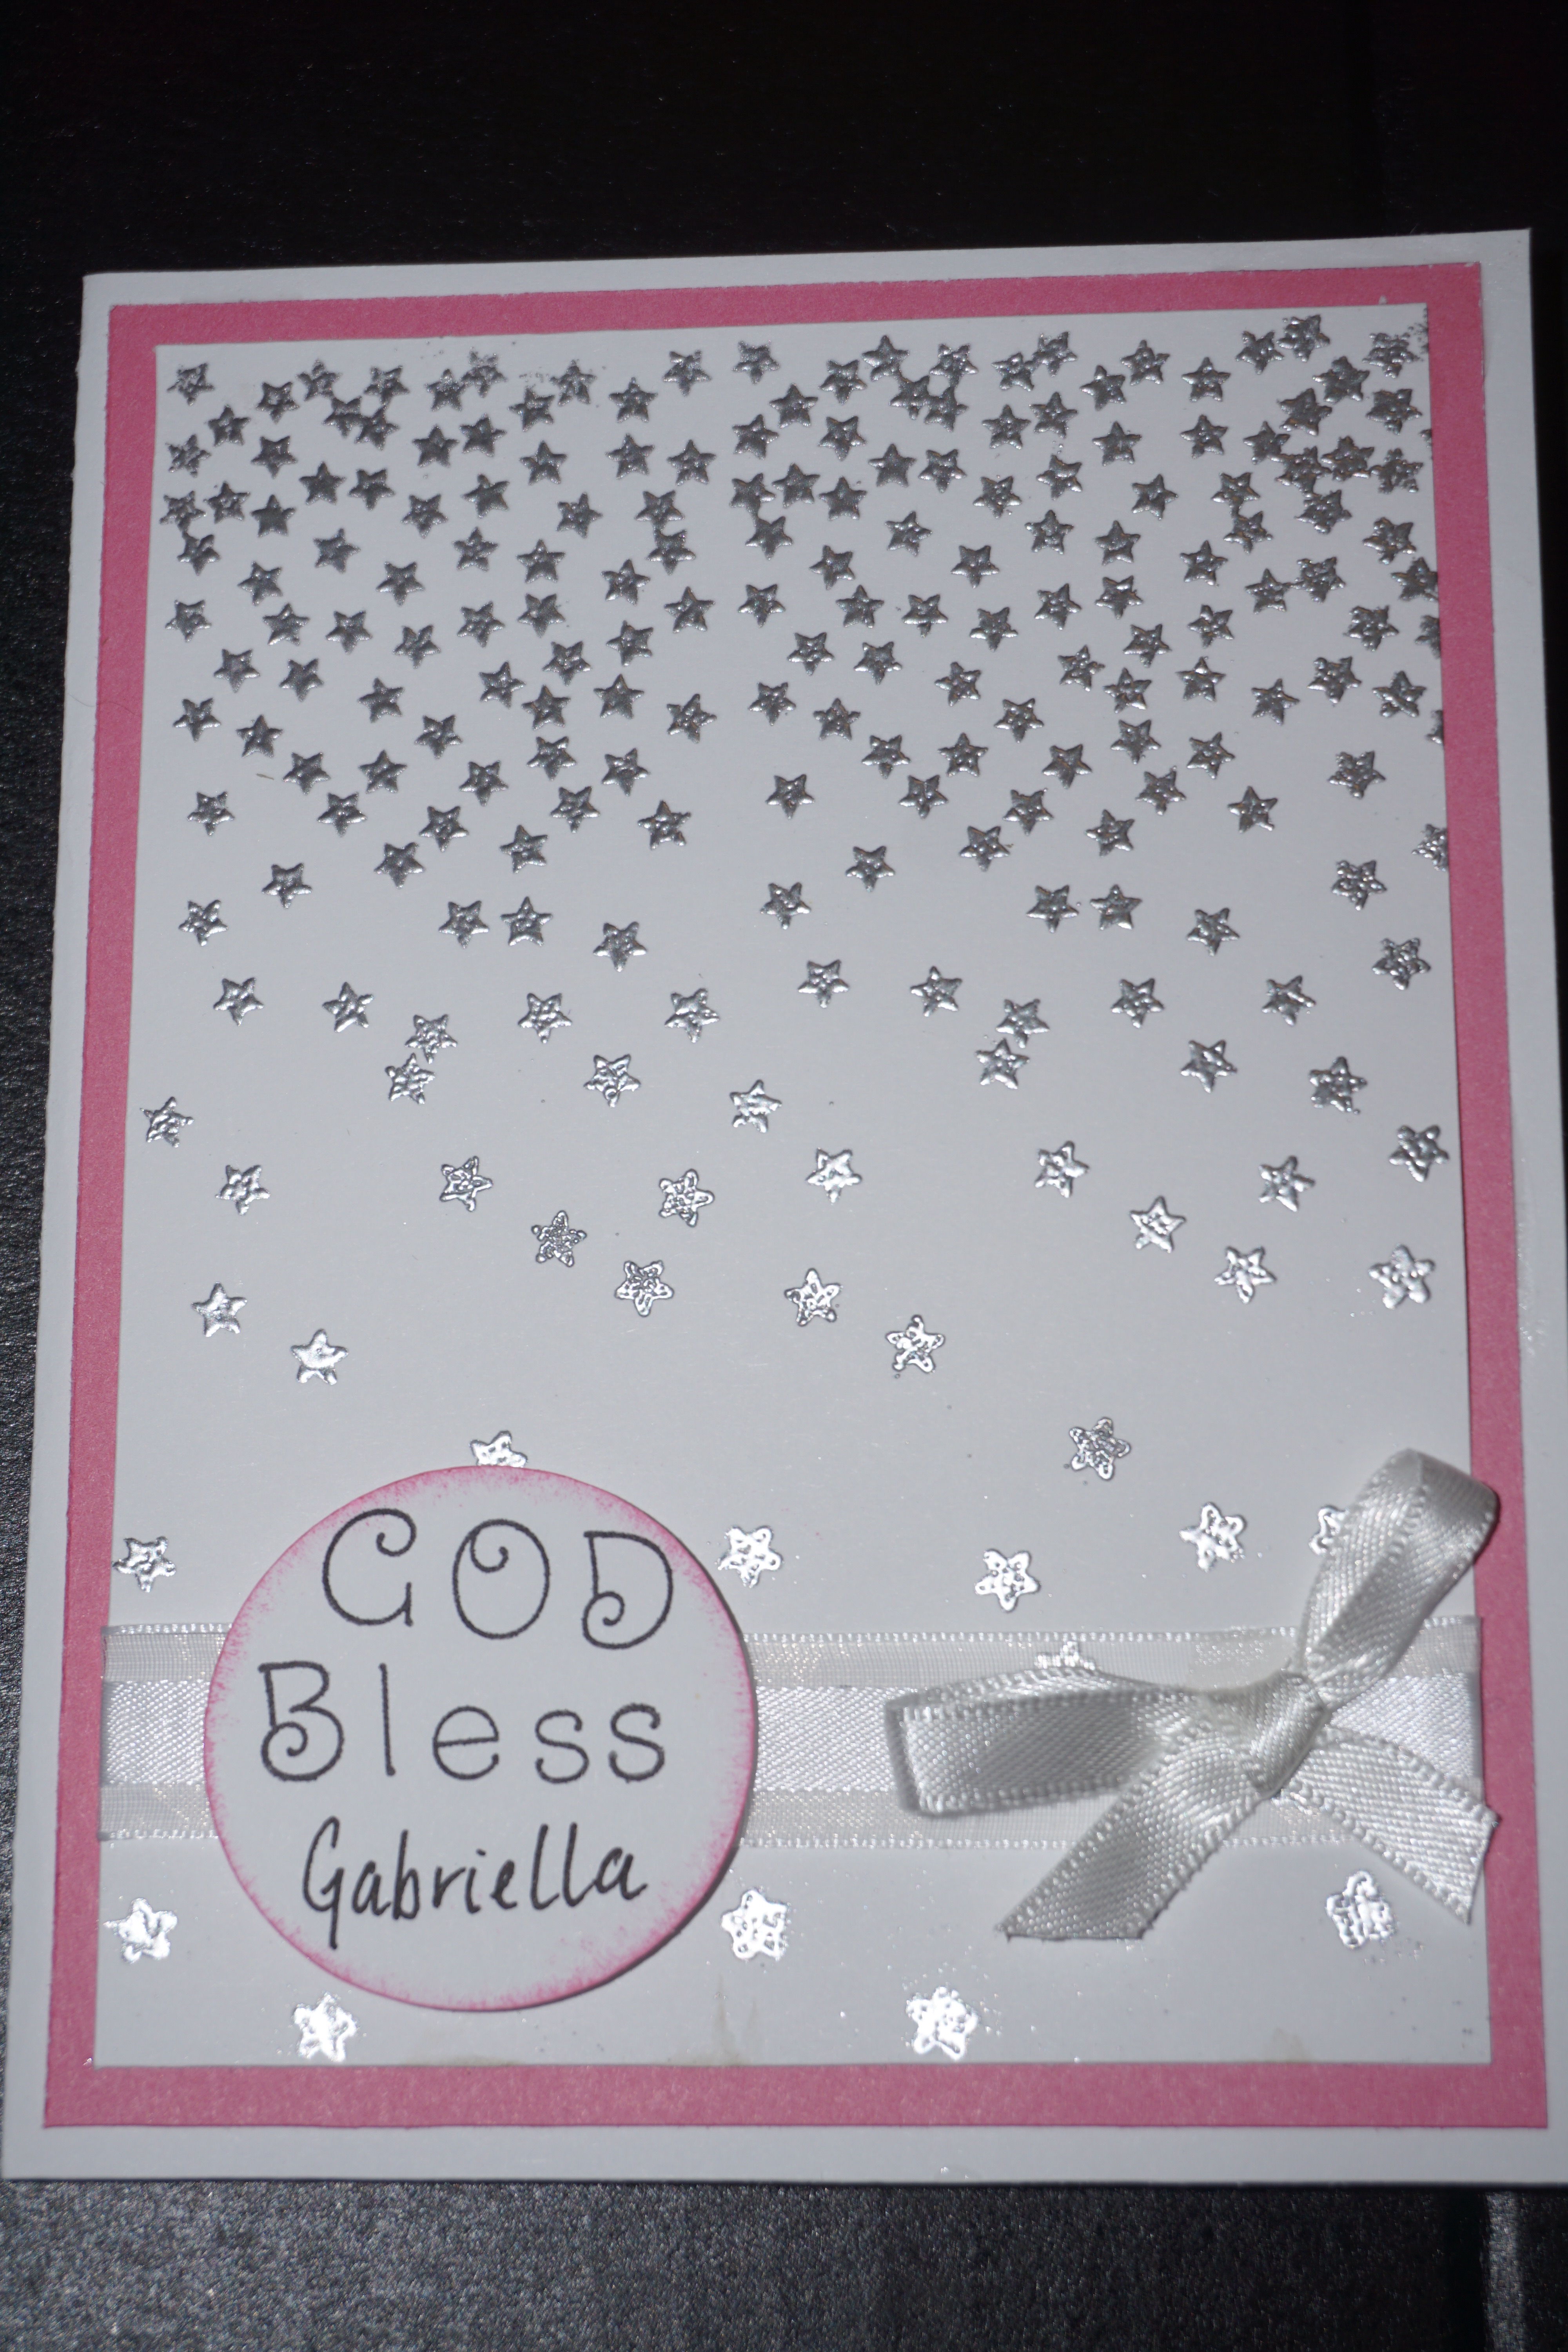
Sunday was a day for celebration. Not only was it Father’s Day here in Australia but it was also the day my friend had her baby girl Baptised. I wanted to make a card for her but as with life time got away from me. So the morning of I spent 30 minutes trying to decide what to do. I didn’t have any religious stamps so I decided to use the stars from the new Charming Cascades stamp set. This stamp set is my favourite from the new Annual Inspirations Idea Book.

I used the Versamark to stamp the stars. I then heat embossed with silver embossing powder. If you are wanting to heat emboss and do not have one of those plastic embossing trays, here is a tip that I do. Fold a piece of A4 paper in half, after stamping in Versamark put the image over the folded paper. Pour an even amount of powder over the stamped image. Tip the card on its side so the excess falls off and onto the folded paper. When you have removed all excess powder you can then pour all the powder back into the container. This will make your powder last longer. The fold in the paper acts as a funnel to make pouring back into the container easier.

Here is a tip for all you crafters who never have the right wording/phrase stamp when you are looking for it. Use an alphabet stamp. This way you can spell out the words you need. This is cost effective as you don’t need to buy a stamp for that occasion you may only need once or twice. As I have no religious stamps I used an alphabet stamp set to stamp GOD BLESS.

You can use this design for all different events. Just change the sentiment on the card for a thank you or a congratulations card.

Thank you for taking the  time to read this post. Please leave a comment with any feedback you have. Would love to hear what other’s think or have used similar designs.

Heat embossed Christening card.
All occasion card · Cards

Butterfly Gap Card

This card uses tone on tone and random stamping techniques. The Butterflies are attached to give the card the 3D look. Uses CTMH stamps and card stock and Cricut cartridge. It is very quick and easy. Give it a go!
Butterfly Gap Card

Hi everyone, Thank you for taking a look at my very first Blog post. I was thinking of what to share and decided to share this card. I came across the idea of gap cards in an old magazine and combined it with my love for butterflies.

When I am not scrapbooking or making gifts and cards for special occasions, I am making cards for all occasions. Besides being girly I love butterflies in my projects as they can be used for many different occasions. There have been many times where I have the intention of making a specific card for someone but sometimes time gets away from us and our plans do not eventuate. By having all occasion cards on hand I am able to use one when these instances occur.

This card is quick and easy and you can use it either this exact card or basic design for many occasions.

I began by trimming two strips from the front of a card. First 1 1/4″ x 5 1/2″ and the second at 1/2″ x 5 1/2″.

The second strip will not be needed for this card so you can save it to use on another project.

stamp backgroundCut Two pieces of cotton candy card stock (or any colour you     choose), 1 measuring 3 1/2″ x 5 1/4″ and 1 measuring 1″ x 2″. From the first piece trim a piece off measuring 1″ x 5 1/4″. Trim a piece of colonial white card stock measuring 1 1/2″ x 2 1/2″. Sponge the colonial white piece with cotton candy ink.

Stamp background using the stamp set Your Own Kind of Wonderful, I picked two butterflies and used the ‘Tone on Tone’ technique to create my own pattern (Tone on Tone is using the same ink colour as the card stock). Using the random stamping technique I stamped the butterflies alternating them. To give it a more interesting feel I stamped over the edges. I think it looks great. Remember this technique next time you can’t find the exact paper you are looking for. I then attached the these stamped pieces to the card.

From the Artiste Cricut cartridge, Cut 2 solid butterflies (accent 4 shift ‘spring’ image) and 2 filigree butterflies (accent 4 shift ‘K’ image). To assemble the butterflies you slightly bend the wings, doing this will keep the wings away from the glue and give them a 3D look. Use liquid glass or another adhesive on the underbelly of the butterfly. Attach this to the solid butterfly.

Stamp your sentiment onto the Small piece of cotton candy card stock. I embossed mine with white embossing power. Then attach to small colonial white card stock.

Line the loose piece up with the card so it reforms the original card with the 1/2″ gap. put glue on the four corners of the butterflies and place them as to join the loose piece with the main card. Using 3D foam tape to attach the sentiment to also join the two pieces. You have now completed your card. Adjust the wings of the butterfly so they sit to your desired look.

I hope you had fun assembling this card.