Have you ever wanted to make something but you couldn’t find the project or file to use? The one thing I love about Cricut design space is the ability to change or alter an image to create a new project. Recently I was wanting to create a bookmark as a Confirmation gift but couldn’t find the image or project for an existing bookmark so I modified an image I found and thought I would share the process with you all.
If you want to create the same project then you can find the file on Design Bundles here. I really liked these Mandalay crosses and thought they would work great modified to a bookmark.

I uploaded the SVG file I wanted into design space. I then resized the file to suit the final size I was after (2.89in wide). I then added a semicircle to my canvas. The semicircle I rotated 90 degrees and then overlapped the bottom of it with the top of the cross and welded them together. To do this you select/highlight both items and select “combine” and then “weld” from the bottom right hand side of your screen.
I then added a circle to the canvas and resized it to a size that is appropriate to fit for a ribbon through. Once you have it sized correctly the circle just needs to be centred to the design and far enough from the edge so that if you were using a softer medium then it would not tear. Once you have it placed where you want you select both shapes (bookmark and Circle) and select slice. You can then remove the two circle slice results in the layers panel which will leave you with just the book mark.
Now you are ready to cut the file from your chosen medium. I chose to cut this from Cricut Faux leather as I felt this would be sturdier than card stock and would not be bulky, so would be great to be used in the Bible.
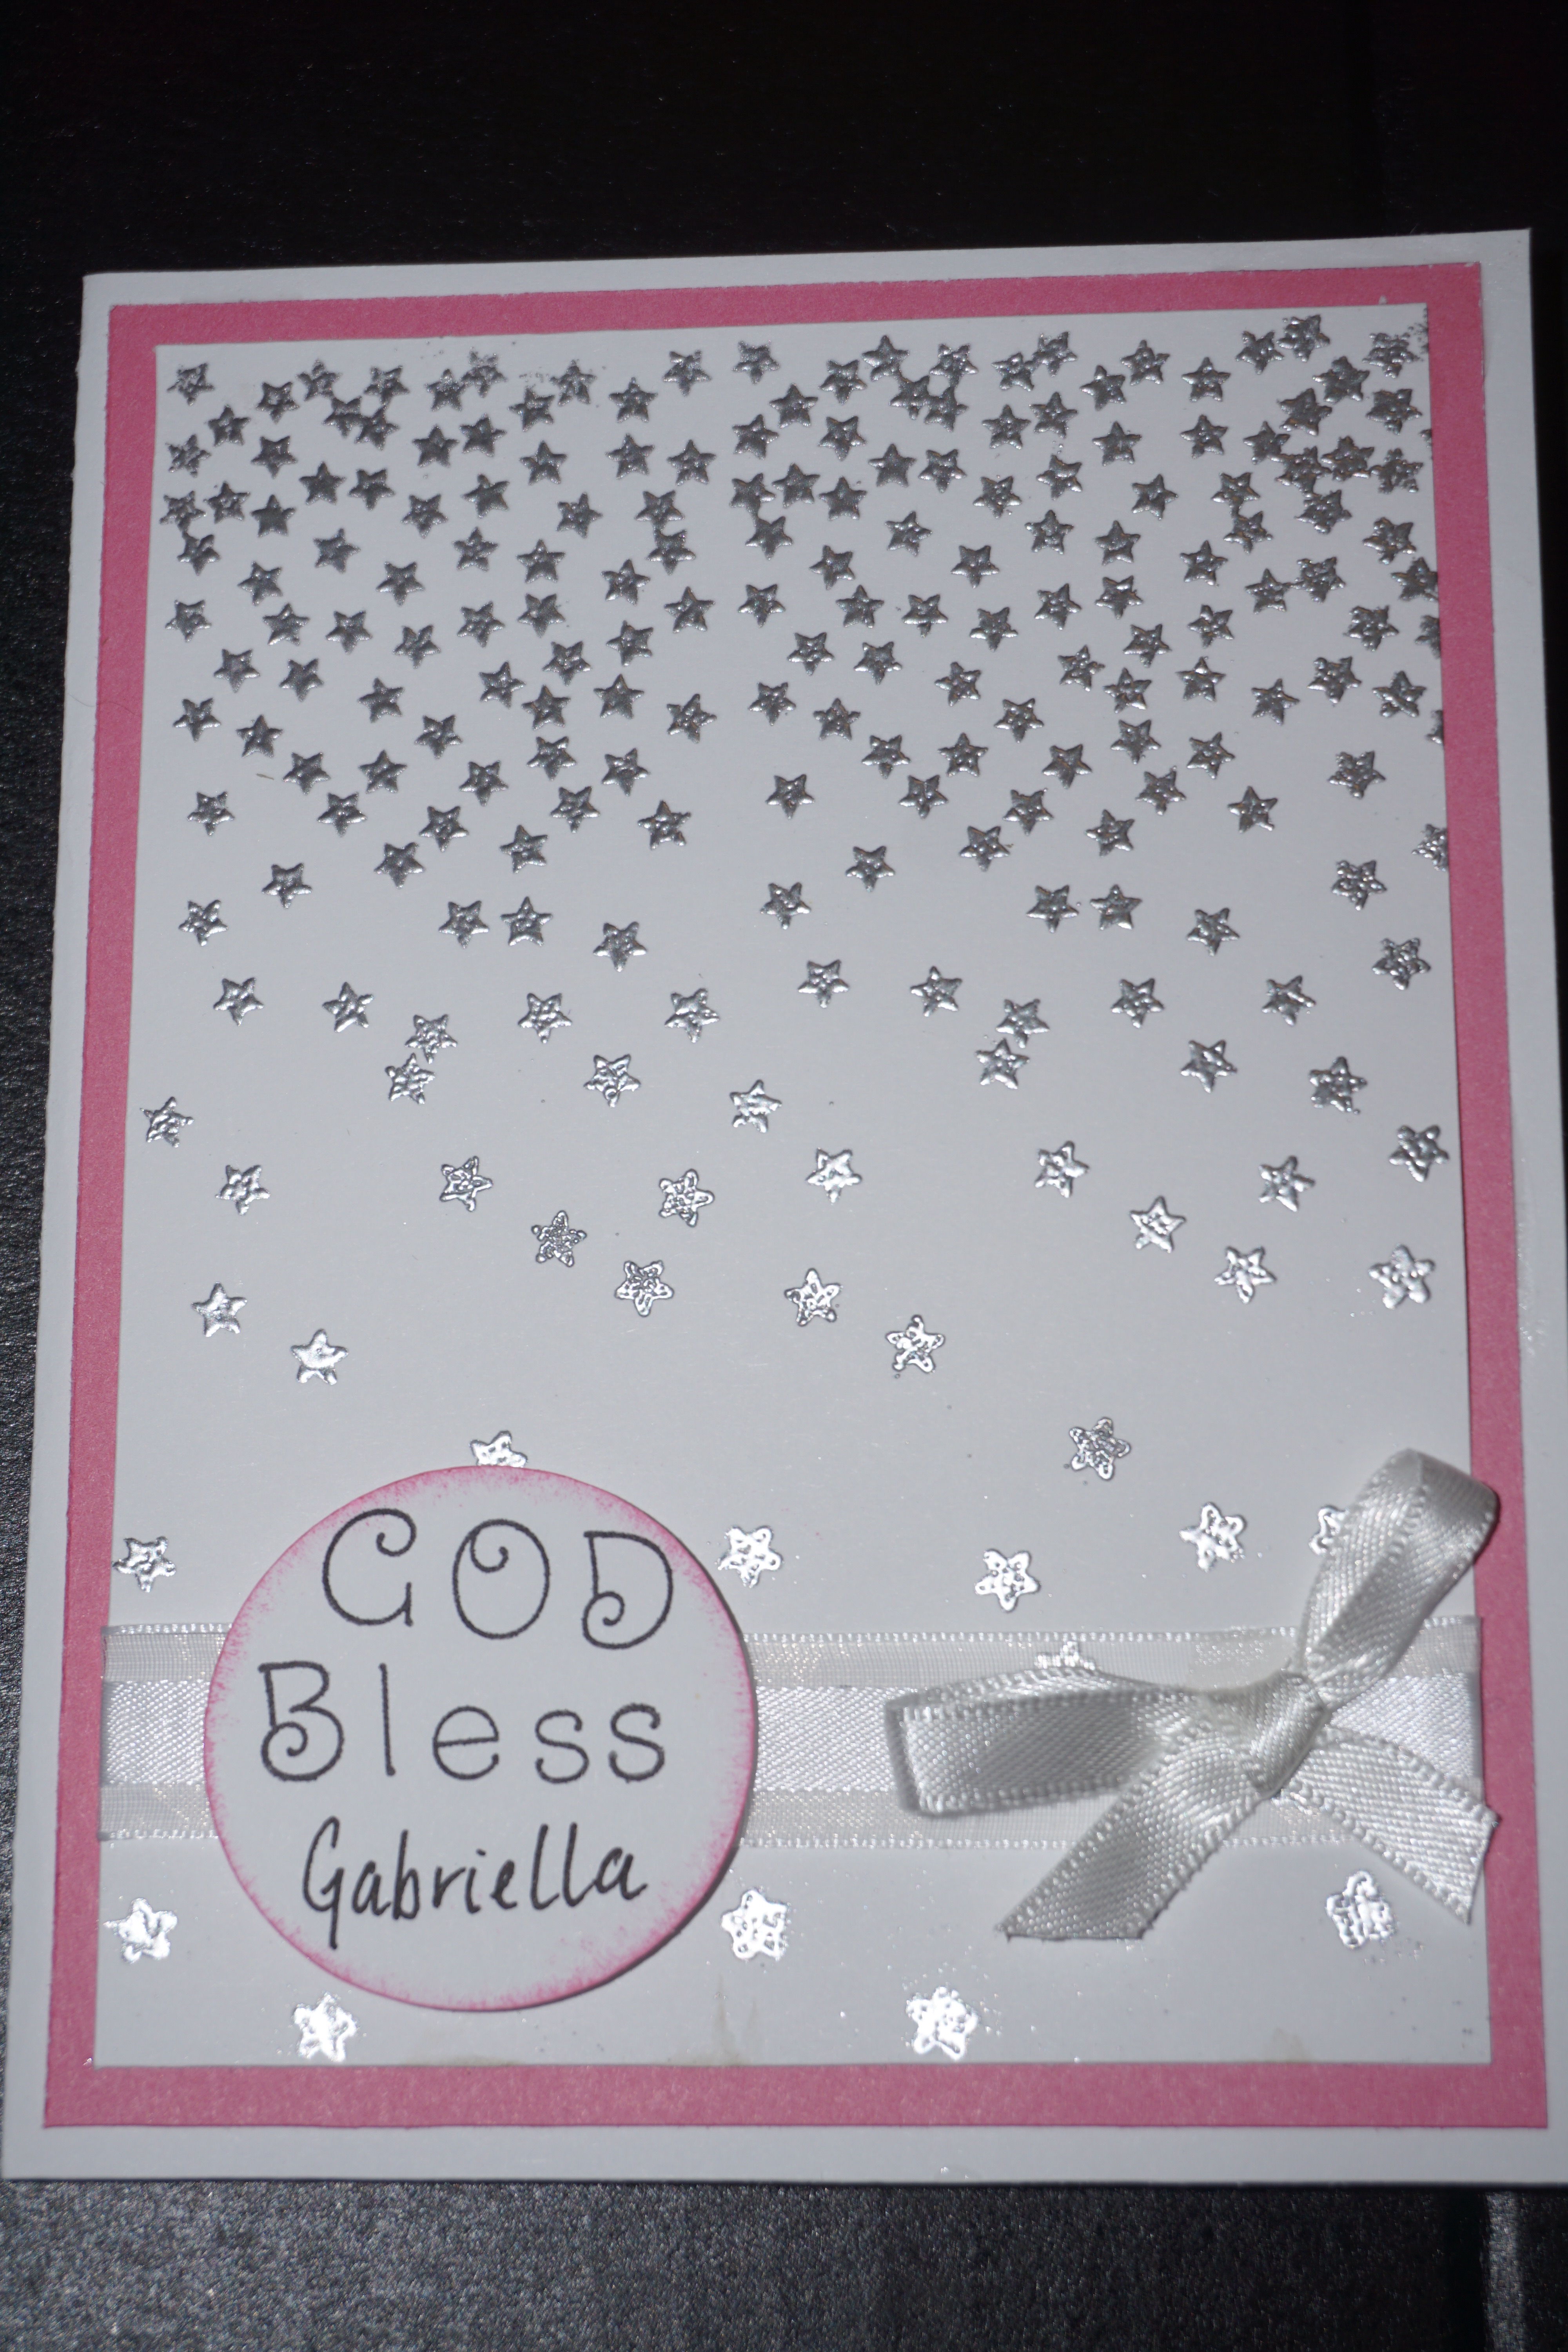
The final product came up amazing and was so easy to cut. I did make a card for the same occasion and will share that with you in another post.

Have you made a bookmark by modifying an image? Let me know in the comments.